
I used to dread setting up new development environments. You know the drill — install PostgreSQL, make sure the version matches production, configure Redis, get the app running, realize you forgot to set an environment variable, dig through docs, fix it, break something else. Forty-five minutes later, you’re still not writing code.
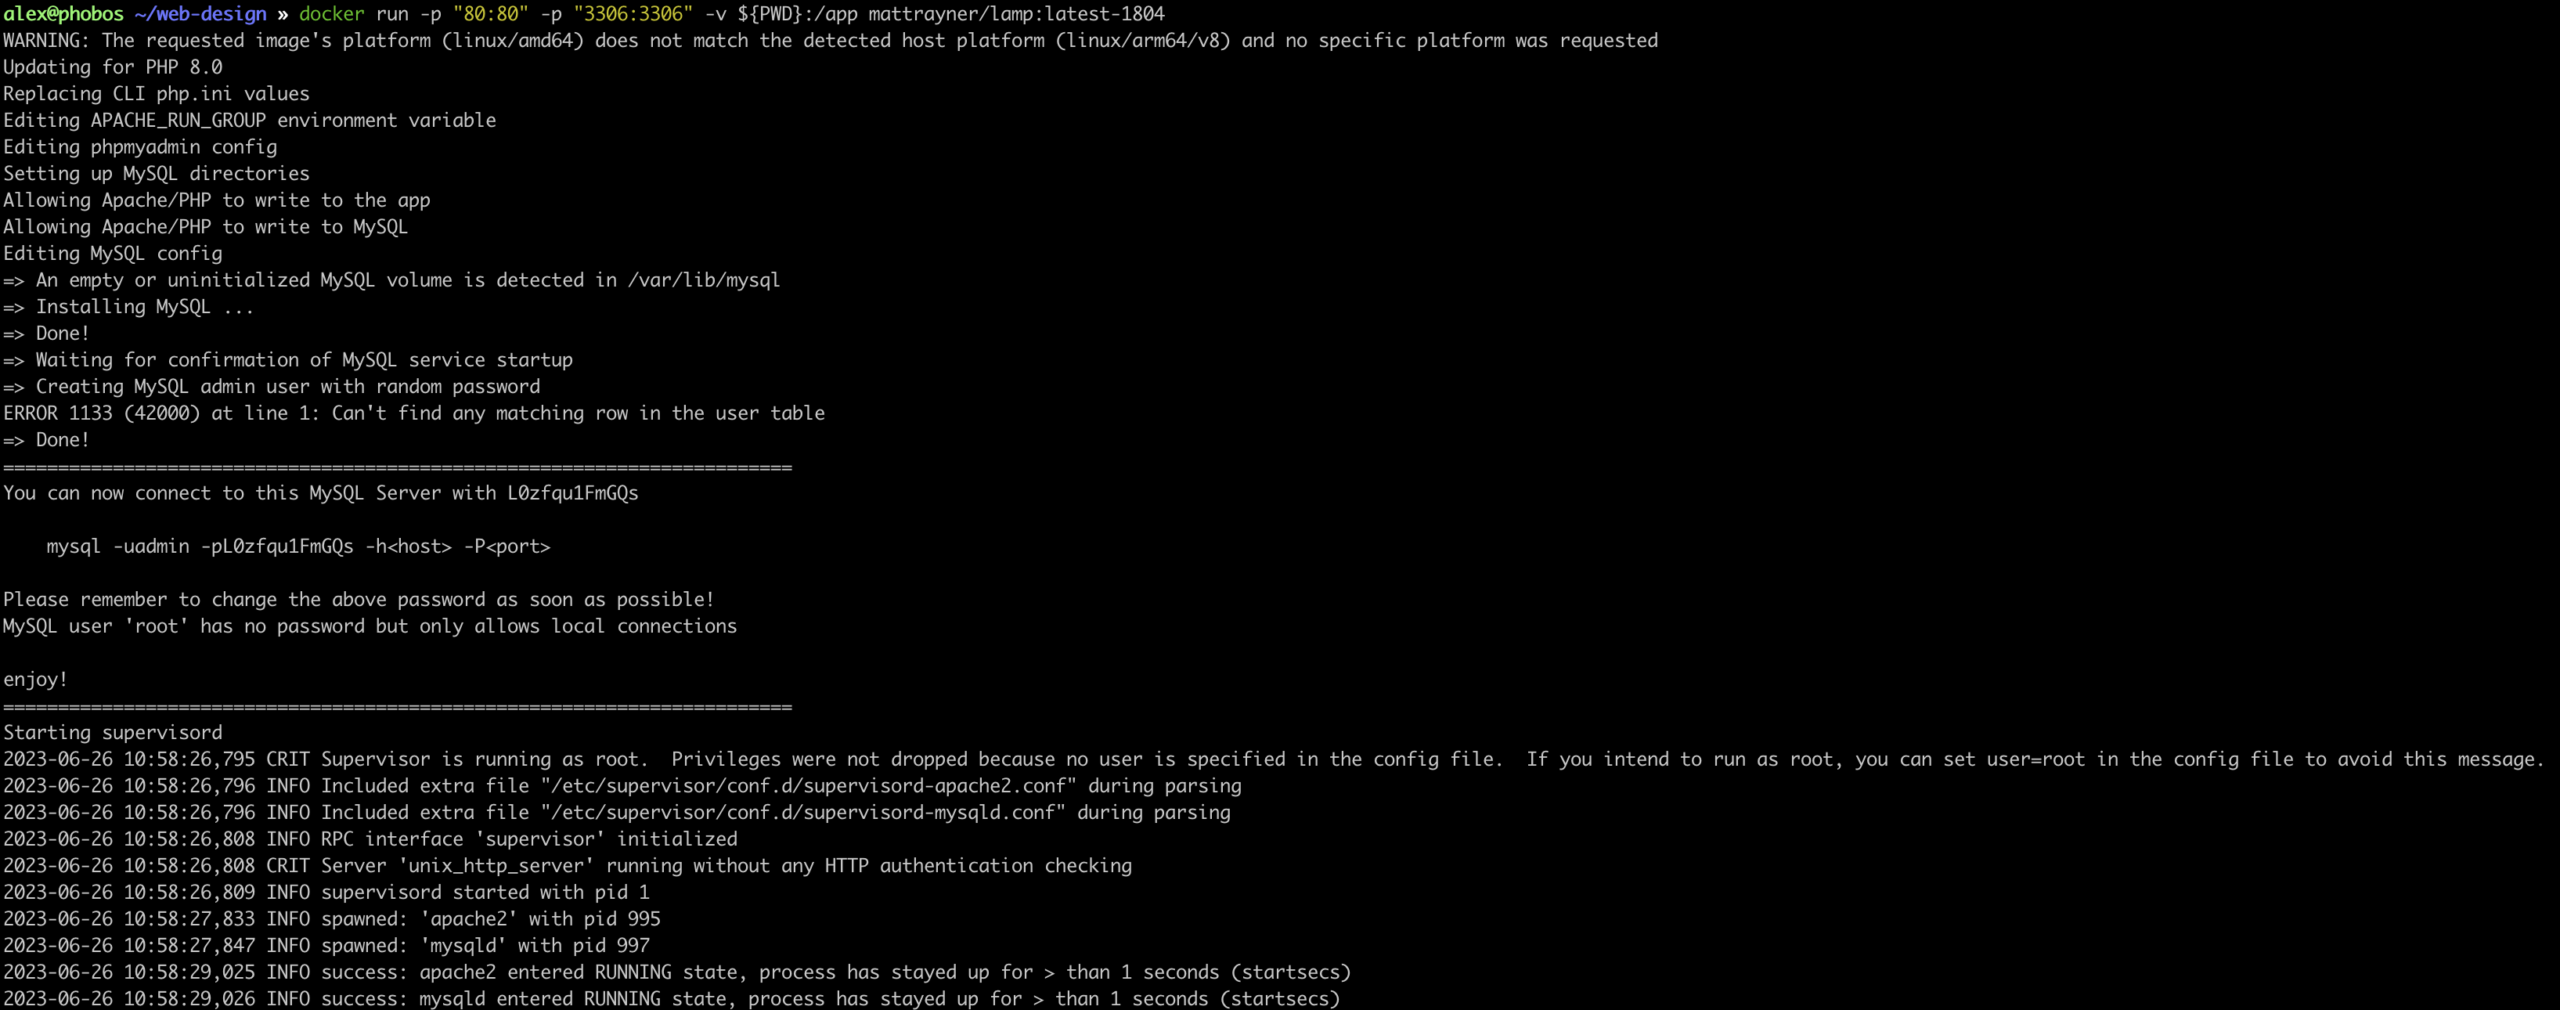

Then I started using Docker Compose for local dev work. Now my entire stack — database, cache, message queue, the app itself — starts with one command. It doesn’t matter if I’m on my work laptop, my home desktop, or a fresh VM. docker compose up and everything’s running, identical to the last time.
If you’re still installing databases directly on your machine or juggling Homebrew services, this guide is for you. I’ll walk you through setting up a full local development stack with Docker Compose — PostgreSQL, Redis, and a Python FastAPI app — all with persistent data and zero conflicts.
Why Bother With Docker Compose?
Here’s what happens without containerization: you install Postgres 16 for Project A, then Project B needs Postgres 15 with specific extensions. Now you have two versions fighting over port 5432. Your coworker sends you a PR and says “works on my machine” — but it doesn’t work on yours because they’re running Redis 7.2 and you’re on 7.0.
Docker Compose fixes all of this. You define your entire stack in a single YAML file. Every service runs in its own isolated container with its own dependencies, its own filesystem, and its own network. When you’re done, docker compose down cleans everything up. No lingering daemons, no mystery processes eating RAM.
The real win, though, is onboarding. New team member? Clone the repo, run docker compose up, and they have an identical environment in under two minutes. Much like how AI tools are transforming development workflows, Docker Compose eliminates the setup friction. No wiki pages of setup instructions, no “oh yeah, you also need to install this thing” Slack messages.
What You Need
You need Docker installed. On macOS, Docker Desktop is the easiest path — it bundles Docker Engine, Docker Compose, and a GUI. On Linux, install Docker Engine directly and the docker-compose-plugin package. Windows users can use Docker Desktop or run Docker inside WSL 2.
Verify it works:
$ docker --version
Docker version 28.0.0, build f8a1e2c

$ docker compose version
Docker Compose version v2.35.0
If you see version numbers, you’re good to go.
Your First docker-compose.yml
Create a new project directory and add a docker-compose.yml file. Let’s start simple — just a PostgreSQL database:
# docker-compose.yml
services:
  db:
    image: postgres:16-alpine
    environment:
      POSTGRES_USER: myapp
      POSTGRES_PASSWORD: devpassword
      POSTGRES_DB: myapp_dev
    ports:
      - "5432:5432"
    volumes:
      - pgdata:/var/lib/postgresql/data

volumes:
  pgdata:
Run docker compose up -d and Docker pulls the lightweight Alpine-based Postgres 16 image, creates a named volume so your data survives container restarts, and maps port 5432 so your app can connect. The -d flag runs it in the background.
Connect to it just like a local Postgres install:
$ psql -h localhost -U myapp -d myapp_dev
Password for user myapp:
myapp_dev=#
When you stop the container (docker compose down), the database shuts down but your data stays safe in the named volume. Start it again tomorrow and everything’s still there.
Adding Redis for Caching
Most real applications need more than just a database. Let’s add Redis — great for caching, session storage, and background job queues:
# docker-compose.yml
services:
  db:
    image: postgres:16-alpine
    environment:
      POSTGRES_USER: myapp
      POSTGRES_PASSWORD: devpassword
      POSTGRES_DB: myapp_dev
    ports:
      - "5432:5432"
    volumes:
      - pgdata:/var/lib/postgresql/data

  redis:
    image: redis:7-alpine
    ports:
      - "6379:6379"
    volumes:
      - redisdata:/data

volumes:
  pgdata:
  redisdata:
Now docker compose up -d starts both services. Your app can hit Redis at localhost:6379. Notice we gave Redis its own named volume too — the pattern is the same for every stateful service.
Bringing In Your Application
So far we’ve got the infrastructure. Let’s add a Python FastAPI app that uses both services. Here’s the full docker-compose.yml:
services:
  app:
    build: .
    ports:
      - "8000:8000"
    environment:
      DATABASE_URL: postgresql://myapp:devpassword@db:5432/myapp_dev
      REDIS_URL: redis://redis:6379/0
    depends_on:
      db:
        condition: service_healthy
      redis:
        condition: service_started
    volumes:
      - .:/app

  db:
    image: postgres:16-alpine
    environment:
      POSTGRES_USER: myapp
      POSTGRES_PASSWORD: devpassword
      POSTGRES_DB: myapp_dev
    ports:
      - "5432:5432"
    volumes:
      - pgdata:/var/lib/postgresql/data
    healthcheck:
      test: ["CMD-SHELL", "pg_isready -U myapp -d myapp_dev"]
      interval: 5s
      timeout: 5s
      retries: 5

  redis:
    image: redis:7-alpine
    ports:
      - "6379:6379"
    volumes:
      - redisdata:/data

volumes:
  pgdata:
  redisdata:
A few things I want to point out here.
Service names are hostnames. Inside the Docker network, your app connects to the database at db:5432, not localhost:5432. Docker Compose creates a default network where each service is reachable by its service name. This trips up a lot of people the first time — your DATABASE_URL uses @db, not @localhost.
The healthcheck on Postgres. Without it, Docker only knows the container started — not that Postgres is actually ready to accept connections. Your app might start before the database finishes initializing, and you get a cryptic connection refused error. The depends_on with condition: service_healthy tells Docker to wait until pg_isready reports success. Small addition, saves a lot of debugging.
The bind mount on the app. volumes: - .:/app mounts your current directory into the container. Change a Python file on your host, and the container sees the change immediately — no rebuild needed. This is huge for development speed.
Here’s a minimal Dockerfile for the FastAPI app:
FROM python:3.12-slim

WORKDIR /app

COPY requirements.txt .
RUN pip install --no-cache-dir -r requirements.txt

COPY . .

CMD ["uvicorn", "main:app", "--host", "0.0.0.0", "--port", "8000", "--reload"]
And a tiny main.py to prove everything works:
import os
import redis
import asyncpg
from fastapi import FastAPI

app = FastAPI()
DATABASE_URL = os.environ["DATABASE_URL"]
REDIS_URL = os.environ["REDIS_URL"]

@app.on_event("startup")
async def startup():
    # Connect to Postgres
    app.state.db = await asyncpg.create_pool(DATABASE_URL)
    # Connect to Redis
    app.state.redis = redis.from_url(REDIS_URL)

@app.get("/")
async def root():
    # Quick health check: ping both services
    db_ok = False
    redis_ok = False
    try:
        async with app.state.db.acquire() as conn:
            row = await conn.fetchrow("SELECT 1")
            db_ok = row[0] == 1
    except Exception:
        pass
    try:
        redis_ok = app.state.redis.ping()
    except Exception:
        pass
    return {"database": db_ok, "redis": redis_ok}
Run docker compose up --build (the --build rebuilds your app image if the Dockerfile changed) and visit http://localhost:8000. You should see {"database": true, "redis": true}. Your entire stack is running, in containers, with one command.
Essential Docker Compose Commands
Here are the commands I use every single day:
# Start everything in the background
docker compose up -d

# Rebuild and restart (after Dockerfile changes)
docker compose up --build -d

# View logs from all services, follow new output
docker compose logs -f

# View logs from a specific service
docker compose logs -f app

# Restart just one service
docker compose restart app

# Stop everything but keep volumes
docker compose down

# Stop everything AND delete volumes (fresh start)
docker compose down -v

# See what's running
docker compose ps

# Run a command inside a running service
docker compose exec db psql -U myapp -d myapp_dev

# Rebuild a single service
docker compose build app
The one that saved me the most time: docker compose logs -f app. No more hunting through terminal windows or IDE consoles to find an error — all your logs stream in one place.
Tips I Learned the Hard Way
Don’t hardcode secrets in docker-compose.yml. Use an .env file instead. Docker Compose automatically reads variables from .env in the same directory. Move your passwords there and reference them with ${VARIABLE} syntax. Then add .env to your .gitignore. This is basic hygiene — much like auditing your dependencies for vulnerabilities, keeping secrets out of version control is one of those things that takes five minutes and saves you from a world of trouble..
Alpine images are your friend. The Alpine Linux variants (postgres:16-alpine, redis:7-alpine) are significantly smaller than the default Debian-based images. Faster pulls, less disk usage. For production you might want the full images for glibc compatibility, but for local dev, Alpine is perfect.
Use docker compose down -v sparingly. The -v flag deletes named volumes — meaning your database data is gone. Great for starting fresh before running migrations, catastrophic if you forgot to dump your test data. I’ve made that mistake exactly once.
Port conflicts are real. If you already have Postgres running on port 5432 (maybe from a Homebrew install), Docker Compose will fail with a port binding error. Speaking of servers — when you do move beyond localhost, make sure you follow the Linux security hardening steps I run on every new server. Docker is great, but a container is only as secure as the host it sits on.. Either stop the local service or change the host port: "5433:5432" maps container port 5432 to host port 5433.
Where This Goes From Here
Once you’re comfortable with the basics, there’s a lot more you can do. Add a pgAdmin or RedisInsight service for a visual database GUI right in your browser. Set up multi-stage Dockerfiles to keep your production images lean. Use docker compose profiles to optionally start heavy services like Elasticsearch only when you need them.
But for now, the important thing is this: you can define your entire development environment in version-controlled YAML, spin it up with one command, and never again spend an afternoon debugging “it works on my machine” issues.
Give it a shot on your next project. Good tools and good habits compound — the strategic thinking chess teaches about writing better code applies here too. Set up your environment right, think a few moves ahead, and everything else gets easier. Clone the repo, write a docker-compose.yml, run docker compose up. Clone the repo, write a docker-compose.yml, run docker compose up. I think you’ll wonder why you didn’t start doing this sooner.