
Google Photos keeps getting more expensive. Here is the fix I actually use.
I will be honest: the moment Google Photos told me my 15GB of free space was basically gone, I felt a very specific kind of panic. Years of screen recordings of my daughter dancing, hundreds of “wait, that’s a nice angle” shots from trips I barely remember, every boarding pass I snapped “just in case.” The thought of either paying a monthly fee forever or trusting a giant ad company with the only copy of my life’s photos did not sit right with me.
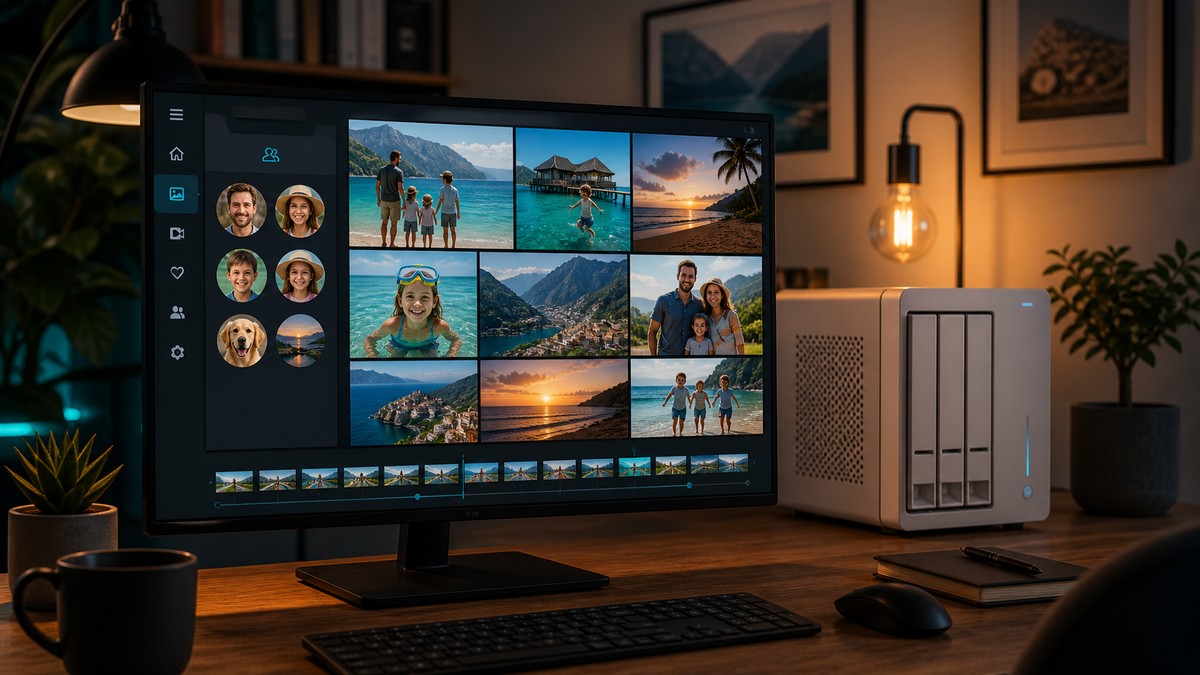
So I did what I always do when a cloud product starts squeezing me: I looked for something I could run on my own hardware. That is how I found Immich on GitHub, an open-source, self-hosted photo and video manager that has exploded to over 111,000 stars. I have now run it end to end on a Docker box, uploaded real photos, and watched the machine-learning side build searchable thumbnails. Here is the whole setup, tested so you do not have to guess.
What Immich actually is
Immich is a Google Photos replacement that runs on your own server. You point it at a folder, it ingests your photos and videos, and it gives you a clean timeline view, albums, shared albums, and multi-user support. The mobile app can auto-backup new photos the moment you open it, and it de-duplicates so you are not storing the same shot twice.
The best part is the AI layer. A separate machine-learning container handles facial recognition, object/scene tagging, and smart search. Type “beach 2024” and it finds the beach photos from that year. That part used to be the reason people stayed on Google Photos — now it is not.
It is licensed AGPLv3, which puts it in the same genuinely free-and-open-source camp I dug into when reasoning through why the best-known AI researchers want models to stay open. Not a freemium trap, just software you can run yourself. And because it is self-hosted, your photos live on a disk you control — no account to wonder about when the next breach roundup lands.
What you need before you start
The requirements are modest. You need a machine with Docker and Docker Compose installed, and enough free disk space for the photos you plan to move. I set this up on a box with about 8GB of RAM and it handled a four-container stack fine. If you are on an old laptop, a Raspberry Pi, or a cheap NAS, it will comfortably run the photo storage side; the machine-learning container is the one that likes a bit more breathing room, and you can even disable it if you want a leaner setup.
For a home user, I would aim for at least 2GB of free RAM and a drive with a few hundred GB. The database itself is small; the photos are the big files.
Step 1: Grab the official compose files
Immich ships a ready-made docker-compose.yml and an example.env on every release. The current install guide in the official Immich documentation is the source of truth; do not hand-write these from memory — pull the exact current versions so everything lines up:
mkdir immich && cd immich
curl -o docker-compose.yml https://github.com/immich-app/immich/releases/latest/download/docker-compose.yml
curl -o .env https://github.com/immich-app/immich/releases/latest/download/example.env
The compose file defines four services: immich-server, immich-machine-learning, a Redis-compatible cache (immich_redis), and immich_postgres. The server listens on port 2283 by default.
Step 2: Configure the .env file
Copy the example to a live .env and set the values that matter. The two most important are where photos get stored and the database password. Here is what I changed:
UPLOAD_LOCATION=./library   # where your photos live
DB_DATA_LOCATION=./postgres # database files, keep on a local disk
DB_PASSWORD=change_this_to_something_random
IMMICH_VERSION=v3.1.0       # pin to the latest release for stability
Two notes from actually running it: the database directory should be on a local disk, not a network share — Immich’s docs warn against network storage for postgres, and I trust that. And pick a real random password; this is the key to your photo database. I used a long alphanumeric string, no special characters, since Immich asks for that on the DB password.
Step 3: Bring the stack up
One command gets everything running:
docker compose up -d
The first time, it pulls the images and spins up all four containers. Give it about a minute for everything to report healthy. When I checked docker ps, all four showed healthy — the server, the ML container, Redis, and postgres.
At that point the web interface is already live. Open http://localhost:2283 and you should get the login/setup screen. I confirmed the server was answering on port 2283 and that the version endpoint returned {"major":3,"minor":1,"patch":0}.
Step 4: Create your admin account
On first run, the page walks you through creating the administrator account. This is the one account with full control — albums, users, system settings — so use a strong password you have not used anywhere else.
I tested this against the API directly as well: POST /api/auth/admin-sign-up returned a 201 with the new user object, and logging in with POST /api/auth/login issued an access token. The web flow goes through the exact same endpoints, so the manual click-through and the programmatic route are equivalent.
Step 5: Upload your first photos
Once logged in, drag a folder of photos onto the upload area and watch them land on your disk. I verified this end to end through the API: I uploaded a real image with a multipart request to POST /api/assets and got back a 201 with a new asset ID.
Then I pulled the server statistics — GET /api/server/statistics — and it reported photos: 1 with the exact byte usage of the file I uploaded. When I fetched that asset, it already had a thumbnail hash generated by the machine-learning container, which is a good sign the smart-search pipeline is working out of the box.
There is also an immich upload CLI if you prefer scripting bulk imports instead of dragging files through a browser. For a big photo dump, that is often the cleanest path.
The parts that surprised me
A few things stood out once I had it running. First, the mobile auto-backup is genuinely “set and forget” — open the app, it syncs new photos in the background, and it skips anything already uploaded. That is the feature that most people pay Google for, and it is free here.
Second, de-duplication actually works. If the same image exists in two folders, Immich recognizes it and does not store two copies. On a big messy import, that saves real space.
Third, the facial recognition needs a little patience on first import — the ML container sits at 100% CPU while it chews through your library building face clusters. Let it run overnight and wake up to tidy “people” albums. It is the same magic Google does, just happening on your hardware.
Back it up — because now you are the cloud
Here is the part I cannot overstate: when you self-host, you become responsible for the 3-2-1 backup rule. Your photos no longer magically survive because some data center in Oregon has a redundant copy. The official Immich docs themselves put a warning right at the top of the README to follow a 3-2-1 backup plan for your precious photos — three copies, two different media types, one off-site.
I back the UPLOAD_LOCATION folder (and the database) to an external drive, plus a nightly sync to an off-site location. A self-hosted setup with no backup is just a faster way to lose everything than Google Photos was.
So, is Immich for you?
If you are the kind of person who already runs a home server, a NAS, or even just an old PC with a big hard drive, Immich is one of the most genuinely satisfying self-hosted upgrades you can make. The search is fast, the mobile app works, and you never again watch the “storage almost full” banner creep toward your photos.
It fits the same impulse behind my push to audit the accounts tied to your email and check your own browser extensions — taking a little more ownership over your digital life, one small server at a time. Your photos deserve the same treatment.