
I’ve been running a small home server for years now, and one thing that always bugged me was Dynamic DNS. Not the concept — DDNS is essential when your ISP assigns you a dynamic IP and you need to reach your services from the outside. But the providers? They’re either limited, slow to update, or locked behind a subscription for features that should be basic.
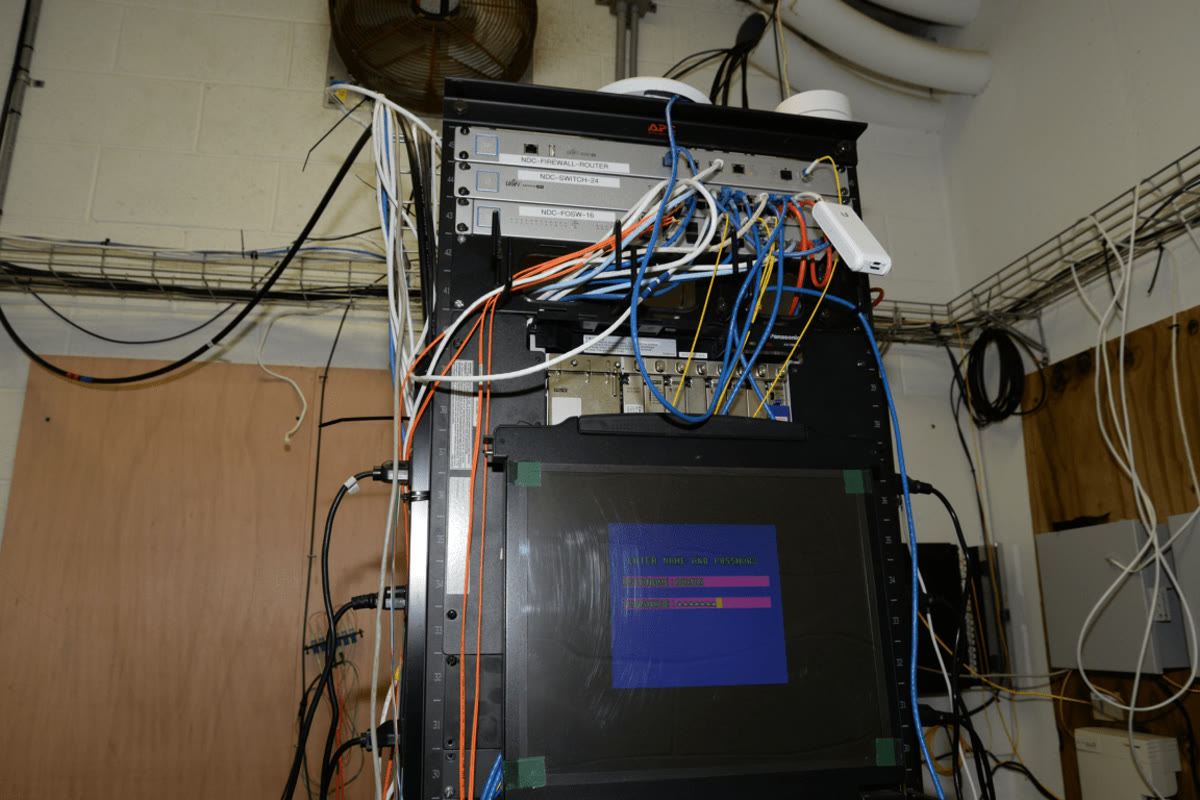

What finally pushed me over the edge — after writing about the broader shift toward self-hosting infrastructure — was the discovery that most DDNS providers don’t support nsupdate — the standard RFC 2136 protocol for programmatic DNS updates. If you want to update TXT records, SRV records, or anything beyond a basic A/AAAA record, you’re out of luck with most managed services.
So I built my own. Here’s how you can too.
Why Self-Host Dynamic DNS?
Before we dive into the setup, let me be upfront about when self-hosting DDNS makes sense.
If you just need a basic myhouse.ddns.net pointing to your home IP once every few weeks, go ahead and use a managed provider. DuckDNS, No-IP, and Cloudflare DDNS all work fine for simple use cases. But if you’re running a homelab, managing multiple subdomains, or need to update records programmatically from scripts, the limitations of managed services start to hurt.
If you’re already exploring ways to break free from third-party dependencies, you might appreciate the deep dive I did on running a fully independent website for $0.01 a day. The same philosophy applies here — own your infrastructure, own your data. Self-hosting DDNS gives you:
- Full control over record types — A, AAAA, CNAME, TXT, SRV, anything your DNS server supports
- No rate limits — update records as often as you need
- nsupdate support — the RFC 2136 protocol works with any RFC-compliant client
- Privacy — your IP history stays on your server, not a third-party provider’s database
- Custom TTLs — set update frequencies that match your needs
For this guide, I’ll be using Knot DNS, a high-performance authoritative DNS server that’s lightweight, RFC-compliant, and has excellent DDNS support.
What You’ll Need
- A server with a public IP address (VPS, dedicated server, or a home server with port forwarding)
- A domain name where you control the DNS (you’ll delegate a subdomain or the whole zone to your Knot server)
- Basic Linux command-line skills
- Root access or sudo on your server
Step 1: Install Knot DNS
Knot DNS is available in most Linux package repositories. On Debian or Ubuntu:
sudo apt update
sudo apt install knot
On RHEL, Fedora, or Rocky Linux:
sudo dnf install knotOnce installed, verify the version:
knotd --versionThe current stable release is Knot DNS 3.x, which is what we’ll use for this tutorial.
Step 2: Generate a TSIG Key
TSIG (Transaction SIGnature) is the mechanism that authenticates DDNS updates. Without it, anyone who can reach your DNS server could modify your records — so this step is critical.
Knot DNS comes with a utility called keymgr that handles key generation:
keymgr -t tsig.yourdomain.comThis prints a YAML configuration block that looks something like this:
key:
  - id: tsig.yourdomain.com
    algorithm: hmac-sha256
    secret: pk6S/jO+BV1h9ig2ofS3tsPZ1nZl/lOzkimoEhwJjMA=
The secret field is your shared key — keep it safe. Anyone with this key can authenticate as tsig.yourdomain.com and update your zone.
Step 3: Configure Knot DNS
The main configuration file is /etc/knot/knot.conf. You’ll need to add three things: the key definition, an ACL rule that allows updates using that key, and the zone configuration.
First, add the key block you generated in Step 2 to knot.conf:
key:
  - id: tsig.yourdomain.com
    algorithm: hmac-sha256
    secret: pk6S/jO+BV1h9ig2ofS3tsPZ1nZl/lOzkimoEhwJjMA=
Next, define an ACL (Access Control List) that permits authenticated updates:
acl:
  - id: dns-update.yourdomain.com
    key: tsig.yourdomain.com
    action: update
Then, create the zone definition that uses this ACL:
zone:
  - domain: yourdomain.com
    acl: dns-update.yourdomain.com
Finally, make sure Knot DNS listens on all interfaces so it can accept external update requests:
server:
  listen: [0.0.0.0@53, ::@53]
After editing the config, restart Knot DNS:
sudo systemctl restart knotCheck that it started successfully:
sudo systemctl status knotStep 4: Test with knsupdate
Knot DNS ships with knsupdate, an RFC 2136-compliant update client that works just like BIND’s nsupdate. Let’s test the setup by adding an A record:
knsupdate -y hmac-sha256:tsig.yourdomain.com:pk6S/jO+BV1h9ig2ofS3tsPZ1nZl/lOzkimoEhwJjMA=
> server your-server-ip
> zone yourdomain.com
> update add homelab.yourdomain.com 300 A 192.168.1.100
> send
If everything is configured correctly, you’ll see a response like Reply from SOA query or simply no error output. Verify the record was created:
dig homelab.yourdomain.com @your-server-ip +shortYou should see 192.168.1.100 returned. You can also update TXT records, SRV records, or remove records using the same approach:
knsupdate -y hmac-sha256:tsig.yourdomain.com:pk6S/jO+BV1h9ig2ofS3tsPZ1nZl/lOzkimoEhwJjMA=
> server your-server-ip
> zone yourdomain.com
> update delete homelab.yourdomain.com A
> send
Step 5: macOS Integration
Here’s where self-hosting really shines. macOS has a built-in DDNS client that supports the RFC 2136 protocol — but most managed DDNS providers don’t support it. With your own Knot DNS server, macOS can automatically update its IP address whenever your network changes.
First, add a special SRV record that macOS uses to discover your DDNS server:
knotc zone-begin yourdomain.com
knotc zone-set yourdomain.com _dns-update._udp 600 SRV 0 0 53 yourdomain.com.
knotc zone-commit yourdomain.com
Then, on your Mac, open System Settings → General → Sharing. Click Edit next to the hostname section at the bottom, and configure:
- Hostname: yourdomain.com
- User: tsig.yourdomain.com
- Password: the secret generated by
keymgr
Enable “Use dynamic global hostname” and macOS will handle the rest — whenever your IP changes, it automatically sends an update to your Knot DNS server.
Step 6: Linux Client Automation
For Linux machines, you can write a simple script that checks your current IP and sends an update when it changes. Here’s a minimal bash approach using nsupdate (or knsupdate):
#!/bin/bash
SERVER="your-server-ip"
ZONE="yourdomain.com"
KEYNAME="tsig.yourdomain.com"
SECRET="pk6S/jO+BV1h9ig2ofS3tsPZ1nZl/lOzkimoEhwJjMA="
HOSTNAME="home.yourdomain.com"
TTL=300

CURRENT_IP=$(curl -s https://api.ipify.org)
PREVIOUS_IP=$(cat /tmp/last-ddns-ip.txt 2>/dev/null || echo "")

if [ "$CURRENT_IP" != "$PREVIOUS_IP" ]; then
  echo "$CURRENT_IP" > /tmp/last-ddns-ip.txt
  knsupdate -y "hmac-sha256:$KEYNAME:$SECRET" << EOF
server $SERVER
zone $ZONE
update delete $HOSTNAME A
update add $HOSTNAME $TTL A $CURRENT_IP
send
EOF
  echo "DDNS updated: $PREVIOUS_IP -> $CURRENT_IP"
fi
Save this as /usr/local/bin/ddns-update.sh, make it executable (chmod +x), and add a cron job to run it every 5 minutes:
*/5 * * * * /usr/local/bin/ddns-update.shSecurity Considerations
Running your own DNS server opens port 53 to the internet, which means you need to take security seriously:
- Firewall port 53 — Only allow inbound UDP and TCP port 53 from the IPs or networks that need to perform updates. If your clients have static IPs, use ACLs that restrict by source address in addition to TSIG authentication.
- Protect your TSIG key — The secret grants full update access to your zone. Store it securely on client machines (read-only, restricted permissions). Rotate the key periodically.
- Use TSIG, not IP-based ACLs alone — IP addresses can be spoofed. TSIG uses cryptographic signatures and is the primary authentication mechanism.
- Monitor your zone — Check Knot DNS logs periodically for unauthorized update attempts. Knot logs all failed authentication attempts.
- Consider rate limiting — If you have many clients, configure Knot’s rate limiting to prevent abuse:
rate-limit:
  size: 100
  rate: 10/s
When to Stick with Managed DDNS
Self-hosting is empowering, but it’s not always the right choice — and as I explored in my piece on data center energy consumption, every bit of infrastructure we run ourselves comes with real costs in power, maintenance, and attention. If your use case fits any of these scenarios, a managed provider might be simpler:
- Single device, single record — If you just need one A record updated occasionally, DuckDNS or Cloudflare DDNS takes two minutes to set up.
- No public server available — You need a server with a static IP to host Knot DNS, which adds monthly cost if you don’t already have one.
- You don’t control your domain’s DNS delegation — To use your own domain with Knot, you either delegate the zone or run Knot as an authoritative server. Both require DNS configuration changes at your registrar.
- You prefer zero maintenance — Managed services handle updates, security patches, and uptime. Self-hosting adds operational overhead.
Bottom Line
Setting up your own Dynamic DNS server with Knot DNS isn’t about saving money on a free DuckDNS account. It’s about having full control over your DNS infrastructure — the ability to update any record type, integrate with any RFC-compliant client, and keep your data on your own hardware. That same principle of data sovereignty is why I built a fully local RAG system a few weeks back — and DDNS is another piece of that puzzle.
For me, the moment it clicked was when I updated an SRV record from a bash script and watched macOS pick it up automatically within seconds. No polling, no API keys, no third-party dependencies — just DNS working the way it was designed to.
If you’re already running a homelab or managing multiple services behind a dynamic IP, self-hosting DDNS is one of those quality-of-life upgrades that pays for itself in flexibility alone. Give it a shot — your future self, scripting automated deployments at 2 AM, will thank you.